Transfer Switches & Connection
How Transfer Switch Installation Works
Not a how-to. A description of the job, so you can choose hardware, prepare decisions and read a quote properly.
Written byMike M.
Published
Disclosure: we earn a commission on purchases made through links on this page, at no cost to you. It does not affect what we recommend or what we say about it — how we are funded.
The short answer
A transfer switch installation involves mounting the switch near your panel, mounting an inlet box on an exterior wall, running a feeder between them, moving your chosen circuits from the main panel into the switch, and having the work permitted and inspected. The decisions you make beforehand — which circuits, where the inlet goes, 30 or 50 amp — are what determine the cost, and they are decisions only you can make.
This page exists because reading a quote is much easier when you know what the work is. It is deliberately not an instruction manual.
What the electrician actually does
- 1Mounts the transfer switch adjacent to your main panel. Some units, such as Champion's 201193, are indoor-rated only, so this means a garage or basement rather than an exterior wall.
- 2Mounts the inlet box on an exterior wall where the generator cord can reach it — and where the generator can sit at least 20 feet from the house per CPSC guidance.
- 3Runs a feeder from the inlet box to the transfer switch, sized for the amp rating. At 50 amps this conductor is noticeably heavier and costlier than at 30.
- 4Moves your chosen circuits out of the main panel and into the transfer switch, one at a time. This is the labor-intensive part and it scales with the number of circuits.
- 5Bonds and grounds everything correctly, which is the part that makes the installation safe rather than merely functional.
- 6Labels it, so whoever operates it at 2am knows what each switch does.
- 7Permit and inspection, in most jurisdictions.
What drives the quote
The cost variables, roughly in order
- Number of circuits moved
- The main labor driver
- Amp rating
- 50 A means heavier everything
- Distance, panel to inlet
- Feeder length and routing
- Panel accessibility
- A full or awkward panel costs more
- Permit and inspection
- Local fee
- The hardware itself
- Often the smallest line
Our assessment from what the work involves rather than a published figure. The point is that the switch's price is frequently not the biggest number on the invoice.
Two consequences worth acting on. First, get more than one quote — the labor component varies widely between electricians and it dominates. Second, the hardware choice can reduce the labor, which is why the features below are worth paying for.
Hardware features that reduce installation cost
| Feature | What it saves | Who publishes it |
|---|---|---|
| Pre-attached conduit whip | The fiddliest part of the hookup | Reliance 31410CRK — 18 in whip |
| Prewired labeled conductors | Identification and termination time | Champion 201193 |
| Pigtailed inlet box | Terminating inside a cramped box | Connecticut EGSPI50 — 6 in pigtails |
| Integrated inlet in the switch | A second wall penetration | Reliance 306A and A510A |
| Pre-drilled inlet box | Drilling on site | VEVOR kits, SURAIELEC |
| Matched cord and box kit | A mismatch and a reorder | VEVOR 30 A and 50 A kits |
That last row deserves emphasis. A connector mismatch discovered on installation day means a return, a reorder and a second visit. At 50 amps, where 14-50, SS2-50 and CS6375 are easy to confuse, a matched kit is cheap insurance.
The short answer
Quick picks
| # | Product | Best for | Score | Price |
|---|---|---|---|---|
| 1 | 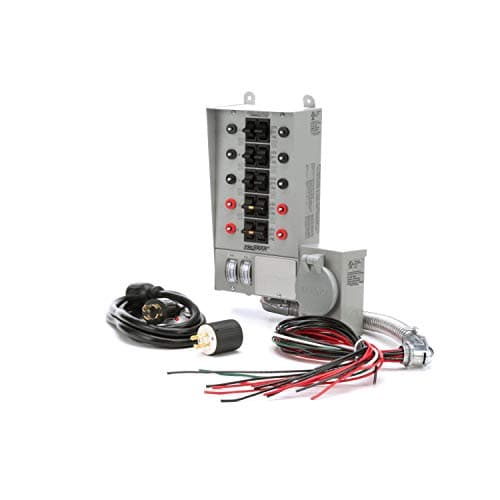 Reliance Controls 31410CRK Pro/Tran 10-Circuit 30A The right pick when your generator genuinely is 7,500 running watts or less — the included whip is a real labor saving. | Pro/Tran with a conduit whip | 8.5/10 | $462.11 |
| 2 | 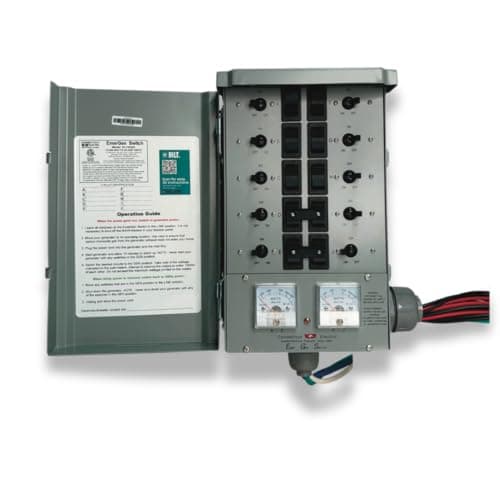 Connecticut Electric EmerGen EGS1012KG2 50A 10-Circuit The simplest way to do a 50 A installation correctly: everything matched in one box, including the cord people most often get wrong. | 50A kit with inlet and cord | 9.0/10 | $379.99 |
| 3 | 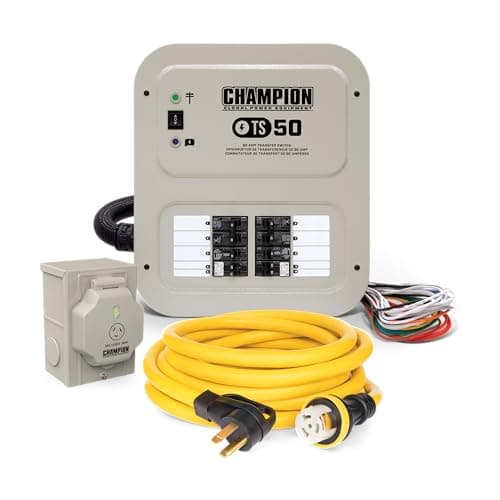 Champion 201193 50A 10-Circuit with Cord The most completely specified 50 A package: UL 1008, prewired, with a cord long enough to site the generator safely. | UL 1008 certified with a 30 ft cord | 9.0/10 | $610.72 |
| 4 | 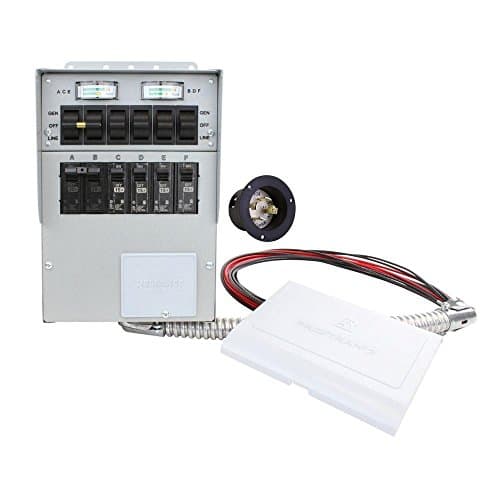 Reliance Controls 306A Pro/Tran2 6-Circuit 30A Worth choosing over the 310CRK specifically if a garage-mounted switch with an integral inlet suits your layout — one install instead of two. | Six circuits, optional inlet | 7.6/10 | $299.00 |
| 5 | 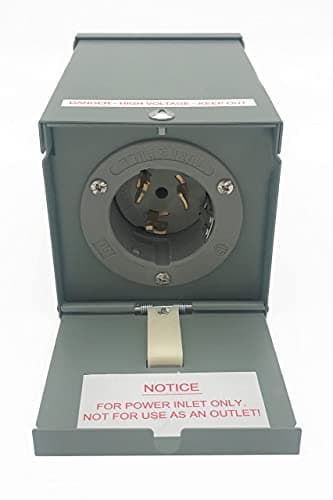 Connecticut Electric EGSPI50 50A Power Inlet Box The best-engineered 50 A inlet here: prewired pigtails, a self-closing weather door, and the receptacle standard 50 A cords actually use. | Prewired 50A inlet | 9.2/10 | $62.95 |
#ad Prices as of October 5, 2026; they may have changed since. Scores are our editorial judgment from published specifications, not test results — how we pick. How we are funded.
The decisions to make before they arrive
These are yours, not your electrician's, and having them settled saves time on the day.
Which circuits
Work from EWEB's published figures and your generator's running watts. The essentials first — refrigerator, furnace blower, well pump, sump pump — then lighting, then comfort. Add up the running watts and confirm the total sits well under your generator's rating.
If you are buying a 10-circuit switch, deciding the last two as spares rather than assigning them is a reasonable choice: they cost almost nothing to leave empty and adding circuits later means paying for a second visit.
Where the inlet box goes
This is more consequential than it sounds, because it has to satisfy two things at once: the cord has to reach it from where the generator will sit, and the generator has to be at least 20 feet from the house with the exhaust pointed away from doors, windows and vents.
Walk it out. Stand where the generator will go, check the distance to every window and door, and then see where the cord lands. A 25-foot cord is the practical minimum; Champion's 50 amp kit includes 30 feet, which gives more room.
30 or 50 amp
Decided by your generator's running watts: under about 7,500, 30 amp; over, 50 amp. Get this wrong in the cheap direction and you strand capacity you paid for; wrong in the expensive direction and you pay for heavier everything for no benefit. See transfer switch amp rating guide.
What happens at inspection
The inspector is checking that the generator supply and the utility supply cannot be connected simultaneously, that conductors are correctly sized, that bonding and grounding are right, and that everything is labeled. A purpose-built listed transfer switch — Champion publishes UL 1008 certification — is the configuration that raises fewest questions.
If you went the interlock route instead, acceptance of third-party plates varies by inspector; see are interlock kits legal.
Questions people actually ask
What does transfer switch installation involve?
Mounting the switch next to your panel, mounting an inlet box on an exterior wall, running a correctly sized feeder between them, moving your chosen circuits from the main panel into the switch, bonding and grounding, labeling, and a permit and inspection in most jurisdictions.
What drives the cost of a transfer switch installation?
Mainly the number of circuits moved, which is the labor-intensive part, then the amp rating (50 amps means heavier conductors throughout), the distance from panel to inlet box, and panel accessibility. The hardware is frequently not the largest line on the invoice.
Can I reduce the installation cost?
Choose hardware that removes steps: a pre-attached conduit whip (Reliance's 31410CRK publishes an 18-inch one), prewired labeled conductors, a pigtailed inlet box, or a switch with an integrated inlet. Also get more than one quote, since labor dominates and varies widely.
How do I choose which circuits go on the transfer switch?
Essentials first — refrigerator, furnace blower, well pump, sump pump — then lighting, then comfort circuits. Total their running watts from a published wattage chart and confirm the sum sits well under your generator's rating.
Where should the inlet box go?
Somewhere the cord reaches from where the generator will actually sit, while keeping the generator at least 20 feet from the house with the exhaust pointed away from doors, windows and vents. Walk it out before deciding — a 25-foot cord is the practical minimum.
Do I need an inspection for a transfer switch?
In most US jurisdictions, yes. The inspector checks that the generator and utility supplies cannot be connected simultaneously, that conductors are correctly sized, that bonding and grounding are right, and that everything is labeled.
Sources
- Eugene Water & Electric Board — Generator Sizing ConsiderationsPublished appliance running-watt figures used when working out how many circuits a household actually needs.
- US Consumer Product Safety Commission — Portable Generator Information CenterThe 20-foot placement guidance that sets the minimum practical cord length referenced on this page.
- Eaton BRMIKBR Type BR mechanical interlock kit — manufacturer listingManufacturer statement that the kit meets National Electrical Code Article 702 requirements, quoted wherever this page discusses code basis.
Read next
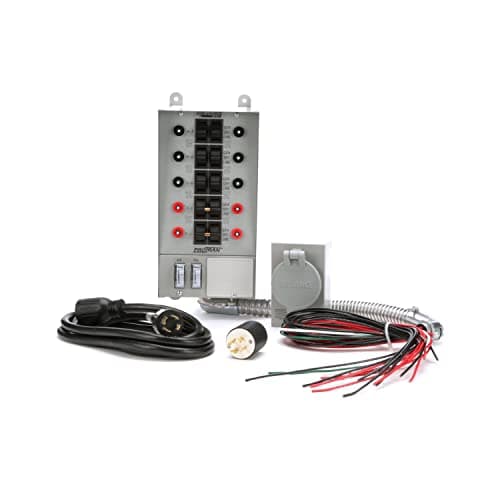
Guide
What Transfer Switch Installation Costs
What a transfer switch installation quote consists of, the hardware choices that reduce labor, and how to compare quotes.
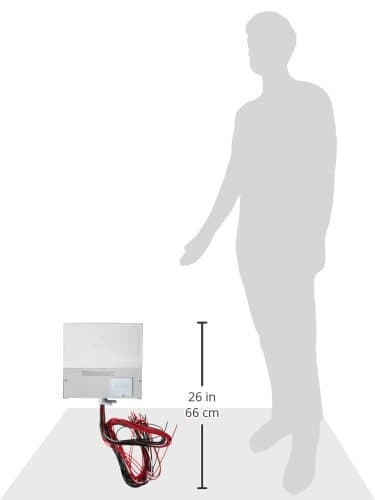
Best Transfer Switch
The Best Generator Transfer Switches
Transfer switches ranked on circuit count, amp rating and kit completeness, from 6-circuit 30A to 10-circuit 50A.
Top pick · Reliance Controls 310CRK 10-Circuit 30A Kit
$474.76View on Amazon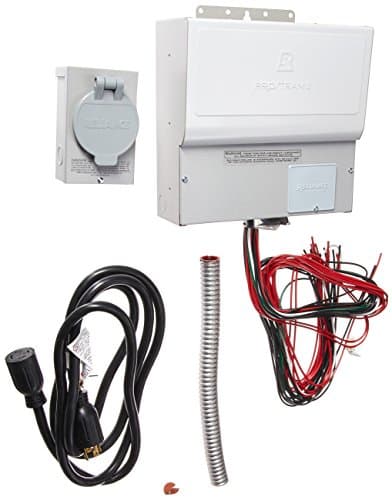
Guide
Transfer Switch Amp Rating Guide
Matching transfer switch amp rating to generator output, with the arithmetic and the whole-chain cost implications.
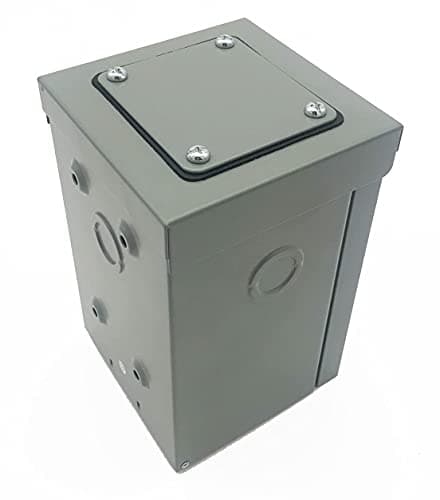
Best Inlet Box
The Best Generator Power Inlet Boxes
Power inlet boxes ranked on enclosure rating, wiring room and connector match, for 30A and 50A installations.
Top pick · Connecticut Electric EGSPI50 50A Power Inlet Box
$62.95View on AmazonGuide
How to Run Your House on a Generator
Connection options ranked, the correct start-up sequence, load management, and the back-feeding practice to never attempt.